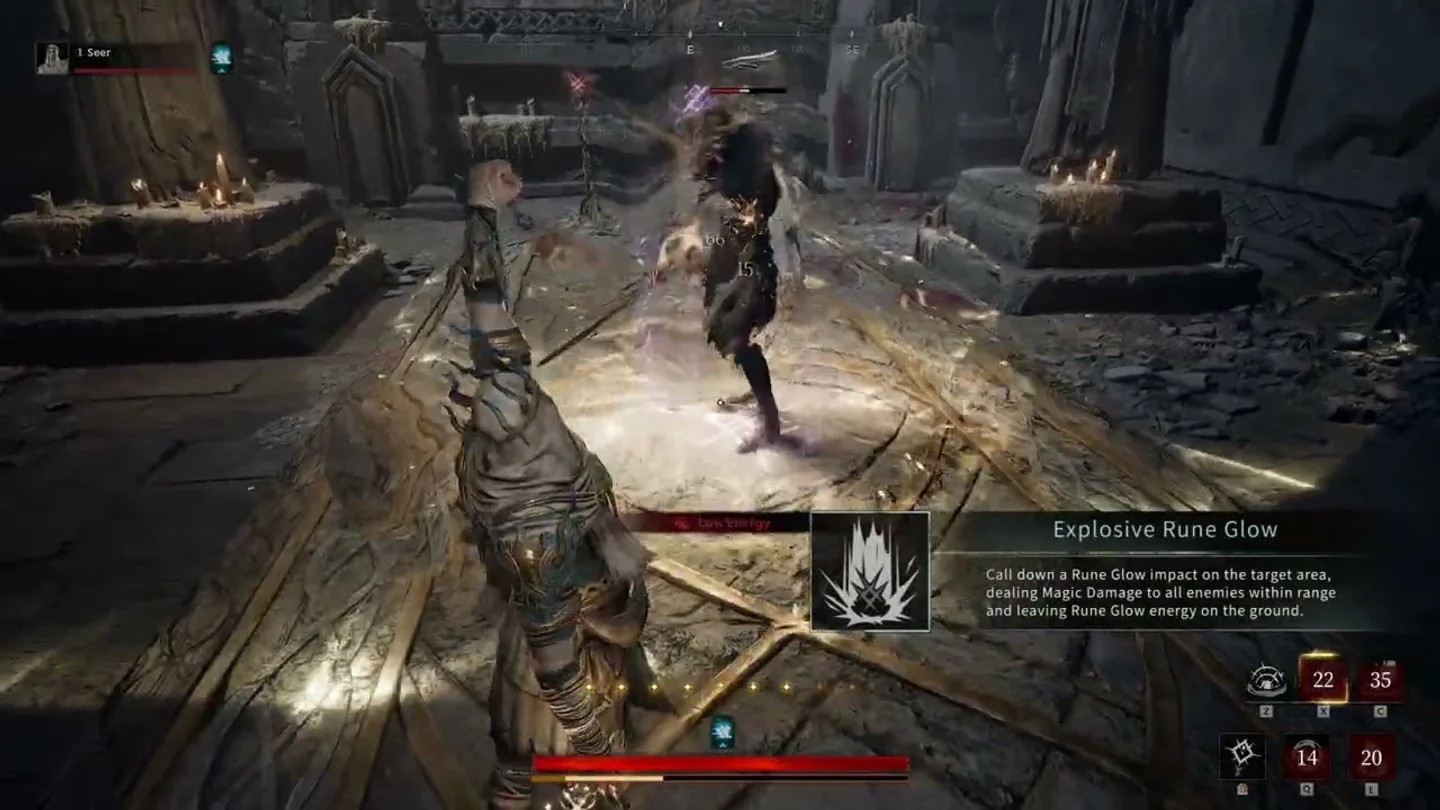

What Seer is built to decide
The official Seer introduction describes energy charges generated through attacks, empowered actions that consume multiple charges, and runes that support allies or hinder enemies. Light and wind tools can shield, conceal, root and blind.
Seer is most useful when light and wind damage, protection and control contributes to the extraction objective. Ask how each action creates space, information, protection or a clean finish. A Seer exchange that separates the squad or blocks the retreat is still a poor trade.
First-run practice priorities
Decide whether the next charges belong to pressure, protection or control. Spending everything on damage can leave the squad without the answer that justified bringing a Seer. Communicate defensive timing so allies can use the protected window.
Use a low-complexity Seer run to identify one opener, one defensive response and one disengagement tool. Keep those Seer actions stable while learning the map, then add talent and gem complexity after the basic exchange makes sense.
Squad fit and communication
Tell allies which condition lets Seer commit safely. Name the target, direction and intended duration of pressure. The squad should know whether Seer is holding, collapsing or leaving before the animation begins.
Seer needs a complementary answer from the squad. Seer's pressure needs follow-up, its range needs protected sightlines, its mobility needs a route back and its support needs teammates who act inside the protected window.
Weaknesses to test honestly
Official notes warn that Seer can be vulnerable to focused pressure and disabling effects, with limited escape options. Position where an ally can answer a dive and save control for the threat most likely to break your casting rhythm.
Review Seer losses as decisions rather than class verdicts. Check position, timing, information, resource use and the class tool itself. This creates evidence that remains useful when balance numbers change.
Primary sourceOfficial Seer class video ↗