Deploy with a route hypothesis
A route hypothesis is not a memorized line through the map. It is a short statement about where you expect value, which spaces are defensible and where you can break contact. Begin with two branches: a normal path and a retreat path. If the opening information contradicts the plan, change it early while the squad still has room.
Solo and squad routes solve different problems. A three-player squad can divide sightlines and roles, but it also creates more sound and requires agreement before changing direction. A solo hunter has less backup but can avoid attention more easily. Do not copy a squad route without accounting for that difference.
At every transition, ask what the next room or lane can trap behind you. Extraction danger often comes from commitment to geometry, not from raw damage. A narrow bridge, vault approach or interaction point deserves more caution than open terrain with several exits.
Measure value against remaining escape capacity
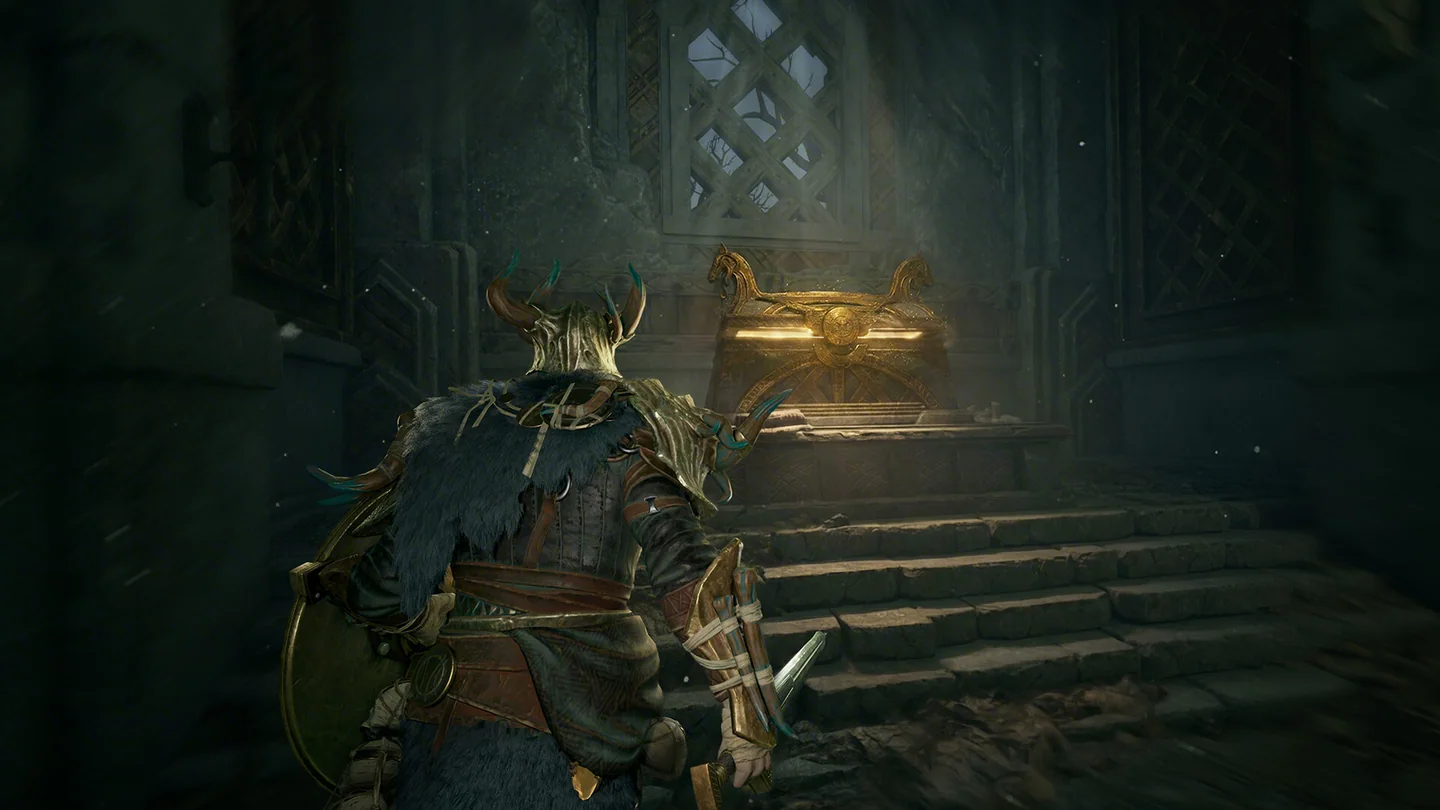
Loot has two values: what it may provide and what it costs to protect. The second value rises as health, time, information and squad cohesion fall. A strong item picked up during a clean early route can justify continued exploration. The same item carried by an injured, separated squad may be the reason to leave.
Do not let a rare-looking reward erase the cost of reaching it. Observe who has line of sight, which threats were attracted by the fight and whether your old exit remains open. If the path changed, the value calculation changed too.
A useful squad call names both sides of the choice: “We have the Woodling and two players are low, so rotate out” is actionable. “Maybe leave” is not. The game rewards combat skill, but extraction requires the group to recognize when the win condition has moved from gaining value to preserving it.
Use a simple threshold before the run begins so the squad can recognize when accumulated value has crossed from opportunity into an extraction responsibility.
The Returner Woodling changes the run
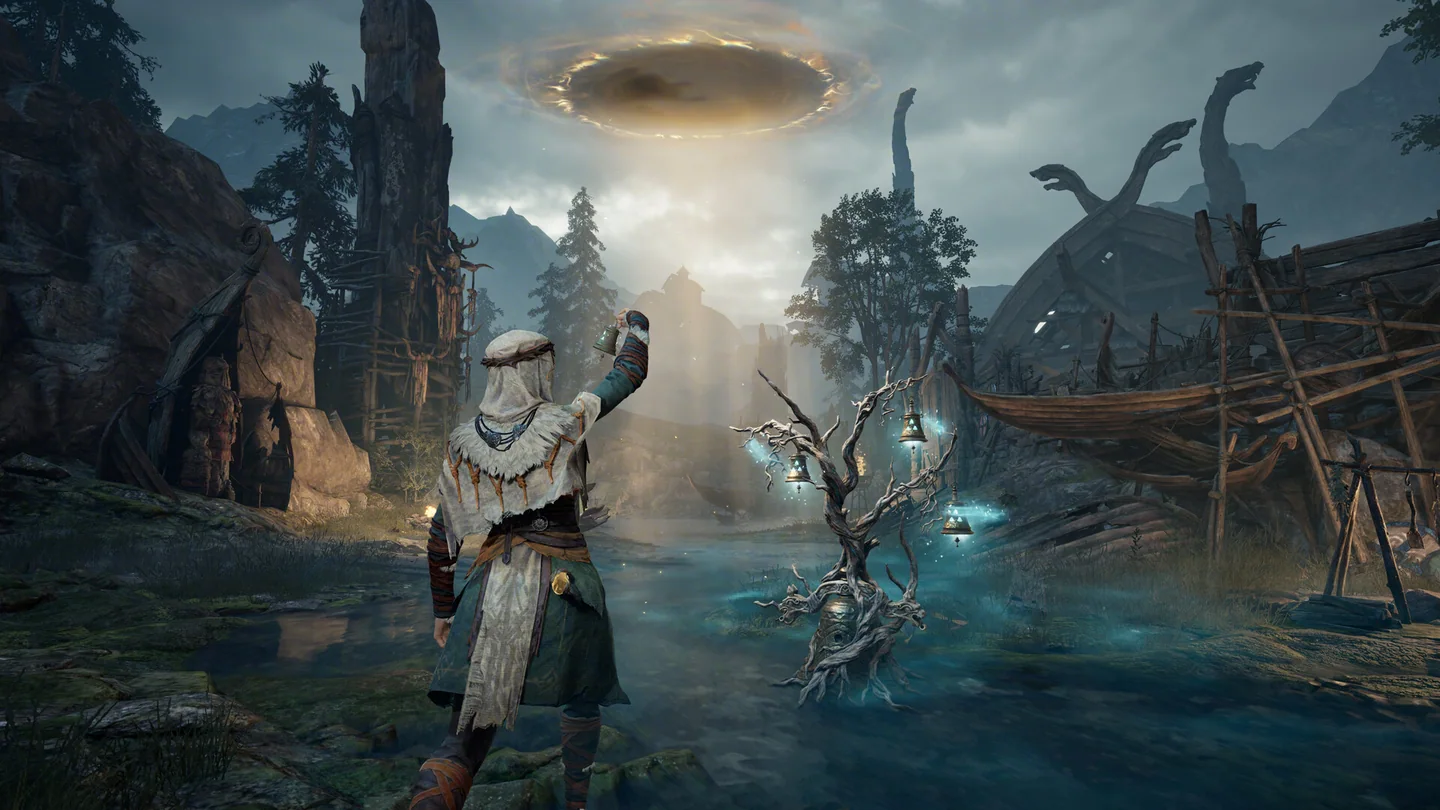
Official materials identify the Returner Woodling as the creature needed to escape the Gyldenmist. Once your group secures one, treat the route home as a real asset. Mark who is responsible for interaction and who protects the space. Avoid three players staring at the same animation while every approach is open.
The Woodling does not remove danger. Other hunters understand the value of extraction points and may use sound, visual effects or predictable movement to locate a vulnerable squad. Clear the immediate space, watch likely approaches and preserve an option to abandon a compromised interaction.
If the squad cannot agree whether to continue, compare concrete resources: carried value, healing, tactical items, class cooldowns, known opponents and distance to safety. Continue only when the expected gain has a reason to exceed the new risk. Momentum by itself is not evidence.
If the Returner interaction is interrupted, reset the watches and route assessment instead of repeating the same exposed attempt with fewer resources.
Fight only for a route, resource or decisive advantage
A fight that cannot improve position, protect value or remove a direct obstacle is optional. Long exchanges reveal location, attract creatures and give third parties time to arrive. Damage dealt is not progress when neither side can convert it into control.
When contact begins, decide whether the squad is breaking line of sight, holding ground or collapsing on a target. Mixed intentions stretch the formation and turn class strengths into isolated duels. Reassess after every major ability or downed player because the reason for the fight may have disappeared.
Disengagement is a skill, not an admission. Use cover, elevation, control effects and threat from the environment to create distance. Stop trading once the opponent cannot meaningfully deny your route. The best exit from a fight is often the moment before both sides spend the resources needed for extraction.
A clean disengagement also protects information. Opponents who lose visual contact must spend time discovering whether you rotated, healed or continued toward extraction.
Run the final approach as a checklist
Before the extraction interaction, count the squad, identify the most exposed approach and confirm that the carrier or interacting player is ready. Place durable or control-oriented hunters where they can delay a push. Keep mobile damage dealers free to respond rather than locking every class into one tight cluster.
Use remaining resources for certainty. Healing that preserves the final approach, a tactical item that blocks a sightline or a control effect that buys interaction time has full value even if it produces no kill. Saving every consumable for a later run is pointless if the current run never returns.
After extraction, write down where the route became dangerous and which signal revealed the problem. Over several runs, this produces a real map of decisions instead of a brittle list of coordinates. Update the record when official patches or seasonal changes alter the field.
Keep the final review tied to a visible landmark or decision cue. That makes the next route note easy to reproduce and correct after a patch.
Primary sourceOfficial Steam game description ↗